Our process
How a project actually runs.
A walkthrough, a written scope, preparation, protection, and a finish you can inspect in daylight.
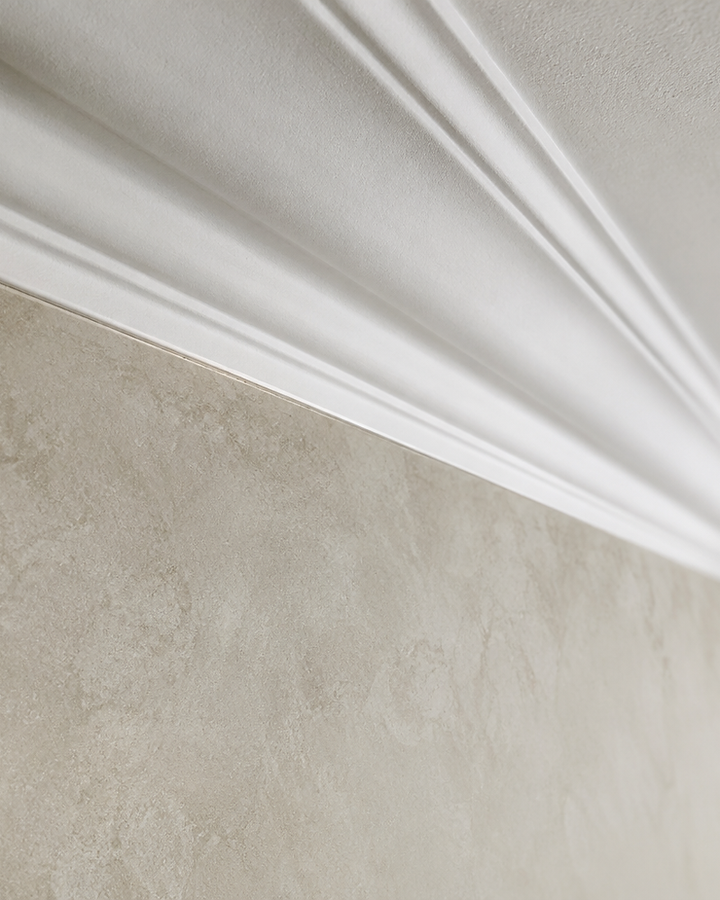
Painting is a sequence, not a single action. A room that looks finished in a single day has usually been prepared over several, and the decisions made at the start determine what the surface looks like a decade later. This page describes the way a project runs with us, in the order it happens, including the parts that are easy to underestimate.
We work on houses and commercial spaces across Ottawa, and the sequence adjusts to the building. A new build with fresh drywall is a different job from a 1920s house with plaster walls and three generations of paint over them. The order of work stays the same; the time and the materials change.
In short
- Walkthrough and notes
- Written scope
- Colour and sheen samples
- Repairs and sanding
- Masking and protection
- Primer, then coats
- Cleanup and walkthrough
02 / Consultation
The walkthrough, and what we look for.
The first visit is about the building, not the sales pitch. We look at how the light falls, how the surfaces have aged, and where the problems are. Ceilings get checked for staining that suggests an old leak. Walls get checked for movement near door frames and window corners. Trim gets checked for paint that has cracked along the grain, which usually means the wood has been moving beneath it.
We ask how the space is used. A hallway that takes school bags and hockey equipment will want a different finish than a formal dining room. A kitchen with grease in the air needs a finish that can be washed. A rental turnover needs to be quick and even. The answers change the products, the sheens and the order of work.
We also ask about access, parking and timing. In dense parts of the city that can matter as much as the paint: where a ladder can stand, whether a balcony door is the only way onto a deck, whether a building requires a booking to use the elevator.
The first visit is about the building, not the sales pitch.
03 / Written scope
Everything is written down before the first drop cloth.
After the walkthrough we write a scope. It lists the rooms and surfaces included, the preparation each one receives, the products and sheens specified, and the sequence of work. It also lists what is not included, which is often the more useful half: a closet that will stay as it is, a ceiling that was painted recently, a piece of furniture too large to move.
The scope is written so that two people reading it would expect the same result. That protects you from surprises and it protects the work from being rushed. Where a decision still has to be made, such as a colour or a sheen, the scope says when it needs to be settled so it does not hold up the schedule.
04 / Colour
Colour and sheen are chosen in the room.
Colour behaves differently depending on the light. A north facing room pulls grey and green out of warm neutrals. A room with tall windows reads lighter and cooler in the middle of the day and much warmer at dusk. A colour that looks restrained on a small card can feel heavy across a full wall, and a pale ceiling can read as dingy against a strong wall colour.
We bring sample cards and, where the decision matters, apply small drawdowns on the wall itself. Two coats on a patch the size of a dinner plate, viewed in the morning and again at night, settles most questions better than any screen. Where a colour has an undertone that may surprise in a particular room, we say so early.
Sheen is a practical decision as much as a visual one. Matte finishes hide surface imperfection and give a room a quiet, chalky depth, but they mark more easily and usually cannot be scrubbed. Eggshell is the middle ground for walls that see daily life. Satin and semi gloss are more washable and are the usual choice for trim, doors, kitchens and bathrooms. Gloss gives the crispest line and shows every imperfection beneath it, which is why the surface under it matters so much.
05 / Preparation
The part that decides how the finish reads.
Preparation begins with the surfaces being sound. Loose paint is scraped back to a firm edge. Cracks are opened and filled rather than skimmed over. Nail pops are reset and filled, because a pop that is only filled will return as the lumber dries through the winter. Water staining is sealed with a stain blocking primer, or it will bleed through a water based topcoat within weeks.
Then the surface is sanded. On trim, sanding removes the grain that swells after the first coat and dulls a factory gloss enough for a new film to bond. On walls, a light sand between patched areas and the surrounding paint blends the repair into the plane. Dust is removed with a vacuum and a tack cloth before any paint is opened, because dust under a finish is permanent.
Caulking comes before painting where two materials meet: trim to wall, casing to jamb, baseboard to floor. A flexible acrylic or paintable silicone bead closes the gap and keeps the line tight. It is not a substitute for a structural repair, and where a gap is moving we will say so rather than fill it twice.
Primer follows. Bare drywall takes a drywall primer that equalises absorption, otherwise the topcoat will dry unevenly and the joint compound will show as a different sheen. Repaired areas take a spot primer. Previously painted surfaces in good condition may need no primer at all, only a clean, dull surface. Glossy trim, cabinetry and any surface that has been handled constantly benefit from a bonding primer.
06 / Protection
Floors, furniture and the rest of the house.
Protection is set up before work starts and stays until the last coat is dry. Floors are covered with canvas drops, and hard floors take a paper layer taped edge to edge so nothing migrates underneath. Furniture is moved to the centre of the room and covered, or moved out where that is easier. Hardware is removed where it can be, and taped where it cannot.
Doorways are masked so that dust and overspray stay in one room. Returns and openings get a taped edge that is removed at the right moment, while the paint is still soft enough to cut cleanly. Anything we move, we put back. At the end of each day the work area is left tidy enough to live around.
07 / Products
Paint in general terms, and what suits which surface.
Waterborne and alkyd
Most interior walls and ceilings are painted with a waterborne acrylic, often called latex. It dries quickly, has low odour, cleans up with water and stays flexible enough to move with the building. Modern waterborne trim paints have closed much of the gap with oil, and they resist yellowing, which is the reason painted trim in older homes often looks cream rather than white.
Alkyd, or oil based paint, forms a harder film that levels out beautifully and gives trim a dense, smooth touch. It takes much longer to dry, carries a stronger odour, and traditionally yellows in rooms without natural light. Where an alkyd is the right answer, it is usually on high traffic trim or on a surface that needs the hardest possible film.
Primers
Primers are chosen for a job. A drywall primer seals new board and joint compound. A bonding primer grips a slick or previously glossy surface. A stain blocking primer contains pigments that stop water marks, smoke residue or knots from bleeding through. Exterior bare wood takes a primer suited to the topcoat system so the two cure together.
Sheens
Matte and flat finishes absorb light and soften imperfections, and are common on ceilings and low traffic walls. Eggshell has a slight sheen that reflects a little light and tolerates gentle washing, which makes it the usual choice for family rooms and hallways. Satin and semi gloss are harder and more washable and belong on trim, doors, kitchens and bathrooms. Gloss is the most durable and the least forgiving.
The rule of thumb is that sheen should increase as the surface is touched more often. A ceiling is touched almost never. A door edge and a stair rail are touched constantly.
08 / Cleanup
Cleanup is part of the work, not an afterthought.
At the end of the job, masking is removed at the correct time, floors are uncovered, and hardware goes back on. Dust is cleaned from surfaces we worked above, including windowsills, ledges and the tops of door frames, because fine sanding dust settles everywhere. Furniture is returned to its position.
Paint left over is labelled with the room, the product and the sheen, so a future repair can be matched. We also leave the product data sheets where they are useful, since they record the recoat times and the cleaning recommendations for the finish that is now on your wall.
09 / Final walkthrough
We look at the work together, in daylight.
The last step is a walkthrough with you. We go room by room and look at the work in natural light, which is where any inconsistency shows. Lines at ceilings, cut ins around trim, the coverage over a repair, the evenness of a sheen across a large wall: all of it gets inspected before we call the job done.
Touch ups are part of that step. Small corrections are normal and expected. If something needs more than a touch up, that is a conversation about the right fix rather than a patch over the problem.
If you would like to read about specific work, the services we offer in Ottawa are described in detail, and the frequently asked questions cover cost, scheduling and preparation in more depth.
About the way we work.
Begin with a walkthrough.
Tell us about the space and what you would like to change. Cost depends on the project, so we quote after we have seen the surfaces.
Request a consultation
Tell us a little about the space and the work. We reply by email with next steps and a time to walk through the project.